A step-by-step guide to pen making
How to handcraft a wooden pen
You’re probably wondering what’s involved in the handcrafting of a pen. This post will guide you through the process, one step at a time, from the raw wood to the finished product.
I’m using the example of a fountain pen made from bog oak.
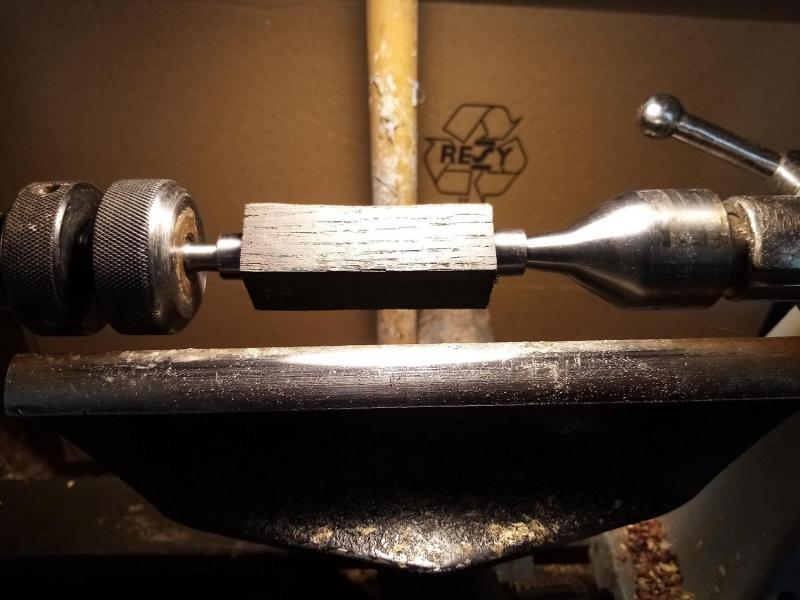
Step 1: Preparing the wood
This consists in cutting the wood pen blank to the desired length and drilling it down the center to make a hole of the right diameter. Once I’ve done this, I insert the brass tube, which will be used to fit the pen’s components together.
Now I’m ready to turn my pen.
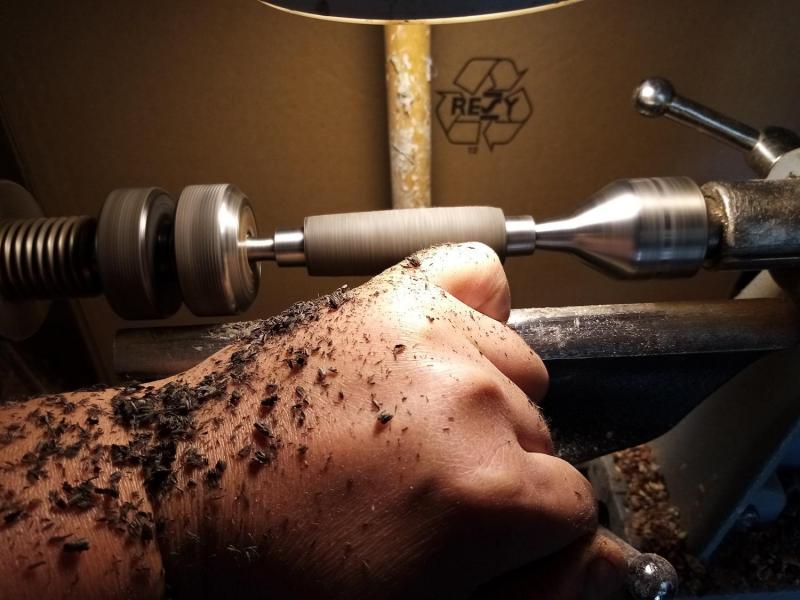
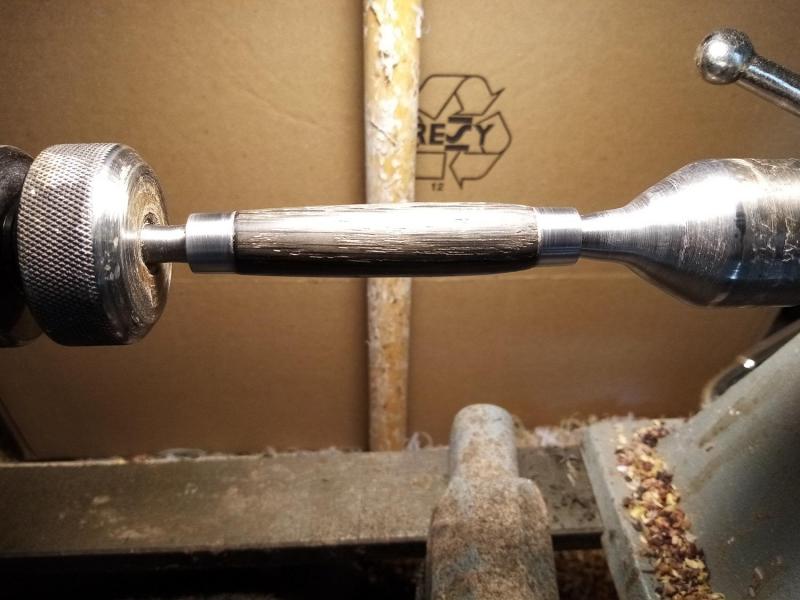
Step 2: Shaping the pen with a gouge
This second step is very important. I work with several gouges (woodworking tools) using my lathe, which runs at 2,000 rpm. I remove material and then shape the pen into the form I’m looking for. Here’s a picture of the result at this point.
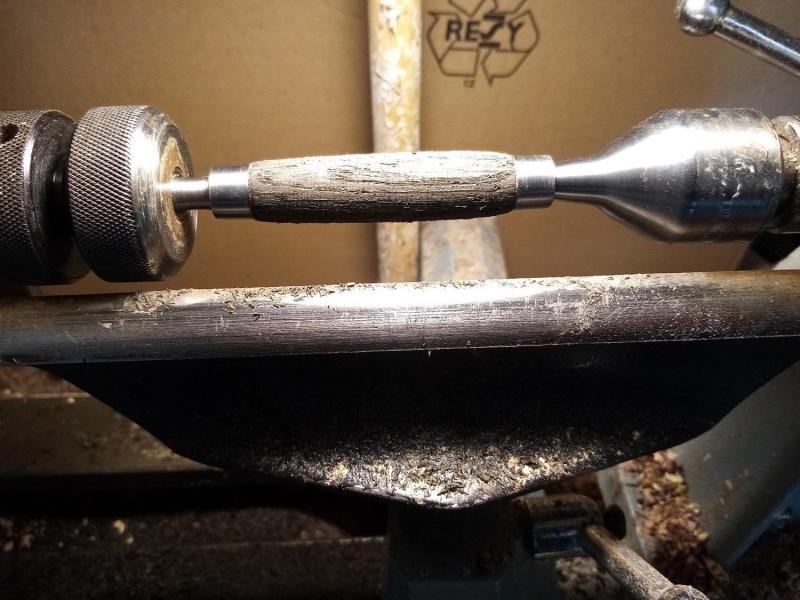
Step 3: Sanding
This is another really important part of the process: the quality of the sanding step will have a major impact on the beauty of the final product. To guarantee a high-quality finish for my pens, I start with 120-grit and move up to 4,000-grit sandpaper, to get a nice and smooth surface. I use around 10 different sanding belts to achieve this result.
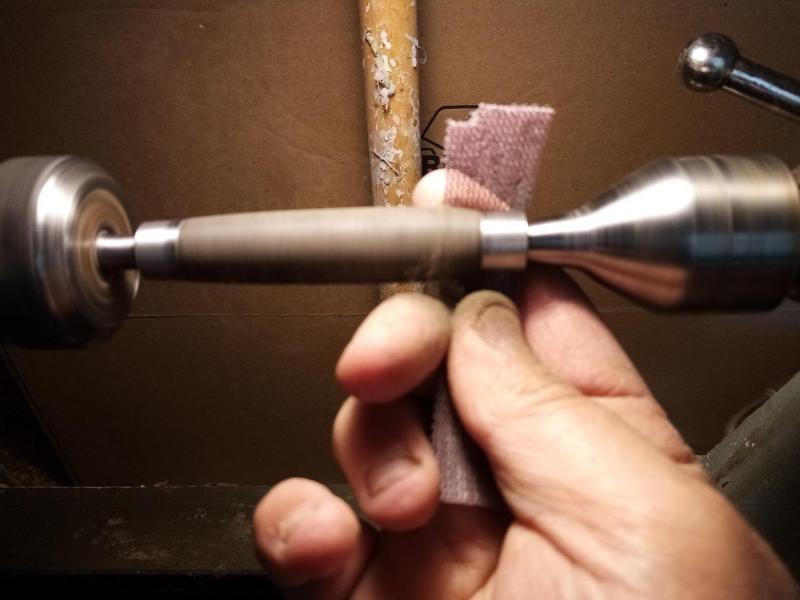
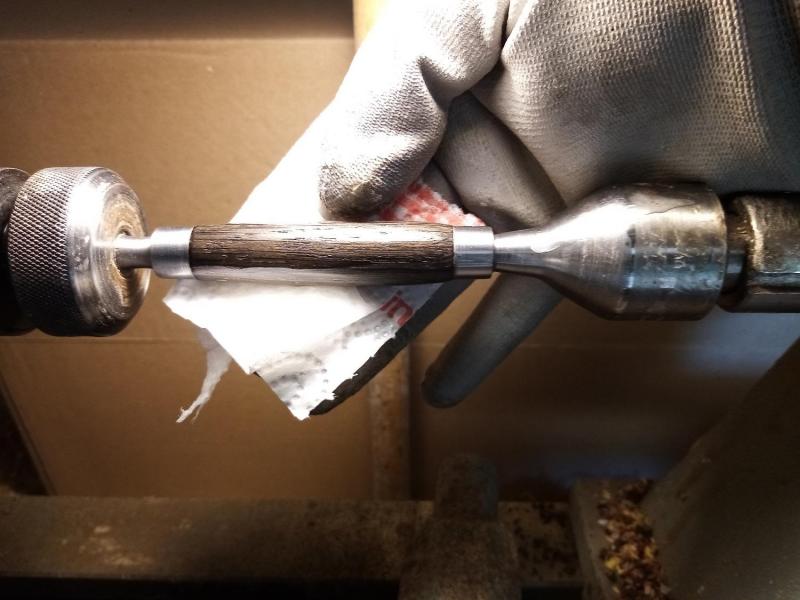
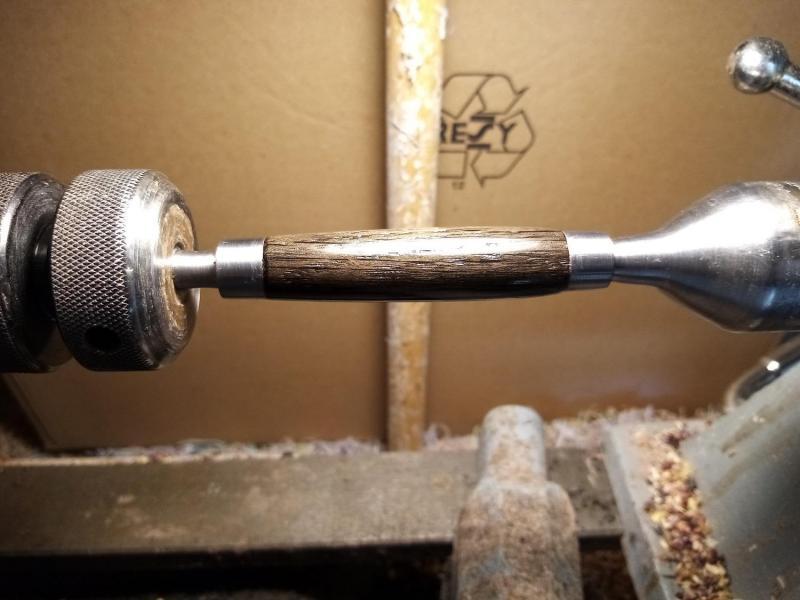
Step 4: Finishes
Once I’ve sanded my pen, I need to apply a finish. I use three complementary products for this step, to achieve an excellent visual result and ensure that my pen will hold up over time. First, I use a pore filler, which will penetrate the wood and make it solid. Next, I apply a melamine lacquer or wax, which provides a protective layer for my pen. Lastly, I use a polish, which offers further protection and gives my pen a beautiful shine.
After each coat, I leave my pen to dry for five to six minutes, running the lathe at 2,000 rpm to ensure optimum drying.
Here’s what the result looks like.
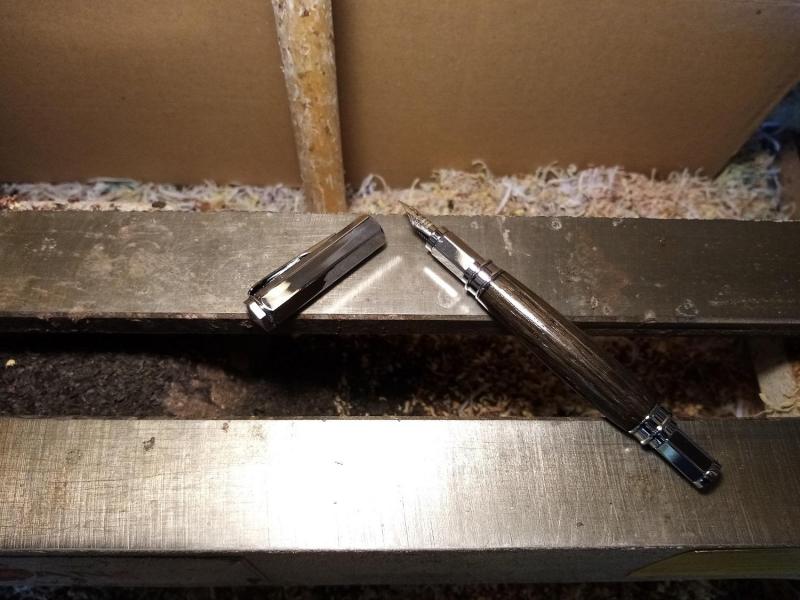
Step 5: Assembling the pen’s components
Now that the wood part is finished, I assemble each pen’s components. I use a press for good pressure, taking care not to damage the work carried out. I use cyanoacrylate (Super Glue) for some components, so that they don’t move. Here’s a picture of the result.
The whole pen-making process is really interesting. Every species of wood is different, whether in terms of its smell, visual appearance, or density. Each kind of wood requires that you take different precautions when turning your pen. Hardwood species are easy to work with, but they risk splintering if the gouge isn’t sharp enough. Softwood species are hard to sand, leaving marks if this step isn’t carried out properly. Some species of wood can surprise you during the turning process, with cavities and small knots that make your work more difficult.
But each and every time I work with and discover various types of wood, I’m genuinely delighted to be able to create a unique object that will bring joy to the person who receives it.
It takes around 50 minutes of work to make one pen. The process can take longer if the wood is difficult to work with.
Thanks for reading my post on how to make a wooden pen – I hope you enjoyed it :)
Questions / Answers
-
Bonjour Monsieur est il possible de choisir la plume (plume large)? Vous remerciant pour votre réponse jean yves mascart
-
Bonjour,
Merci de votre demande, oui sur chaque stylo plume vous avez la possibilité d'acheter en supplément une plume bock, de taille extra fine à large.
Chaque stylo est livré avec une plume medium.
Cordialement Mickael